
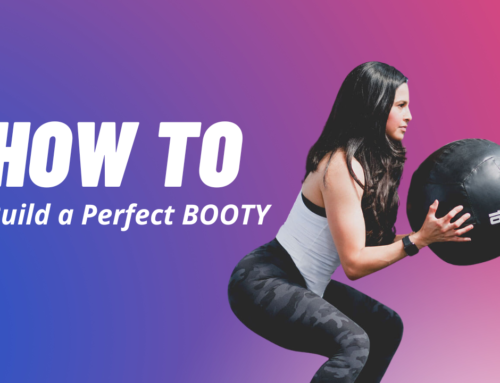
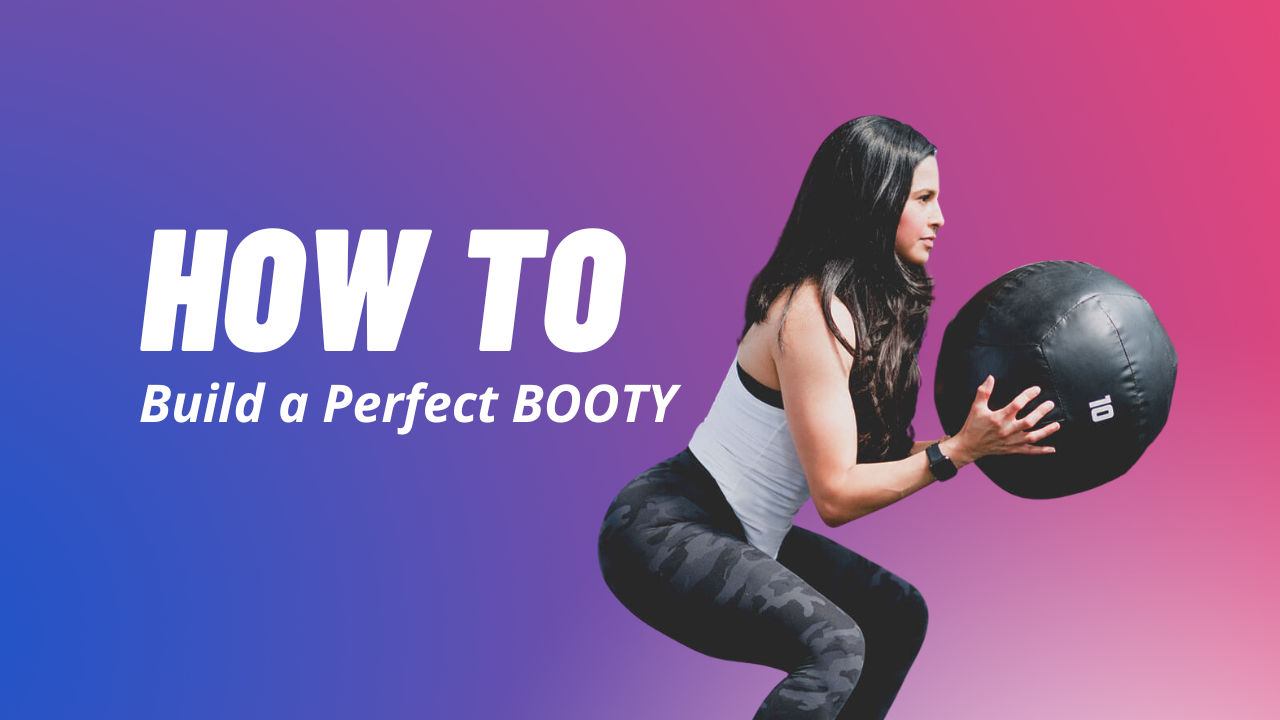
How To Squat
Squatting, often known as the king of exercises, stands as a powerhouse in the realm of fitness. It’s not just an exercise; it’s a journey of strength and technique. If you’re new to the world of squats, embark on your training expedition by familiarizing yourself with the empty bar or even a humble broomstick. Perfect your form while the weights are light because minor missteps with light loads can become glaring issues when the weights get substantial.
It’s crucial to recognize that much of the criticism surrounding squats arises from improper technique, not the exercise itself. In this exploration, we’ll unveil the secrets to mastering this fundamental move, ensuring you avoid common pitfalls.
First Things First
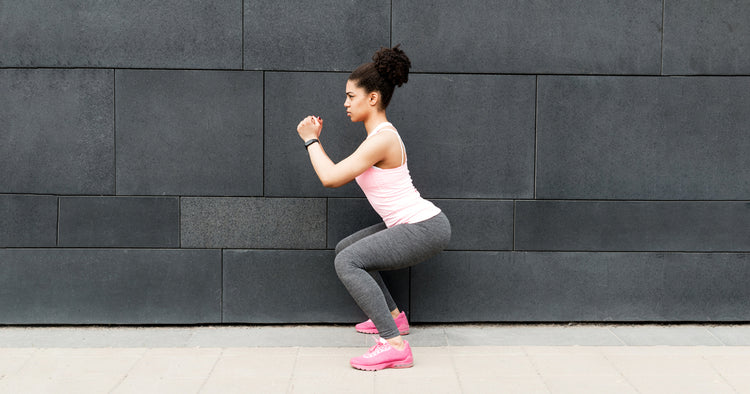
First, let’s talk about posture before we dive into foot placement and stance width. Imagine you’re a disciplined soldier, summoned by the sternest sergeant. Your immediate reaction would be to stand tall, pulling back your head and shoulders. This upright, spine-friendly position is what you should maintain throughout the squat. Your head is held high, your chest proud, and your lower back has a slight arch. There should be no bending over at the lower back or looking downward, but bending at the hips is acceptable. Avoid looking up as well. Got it?
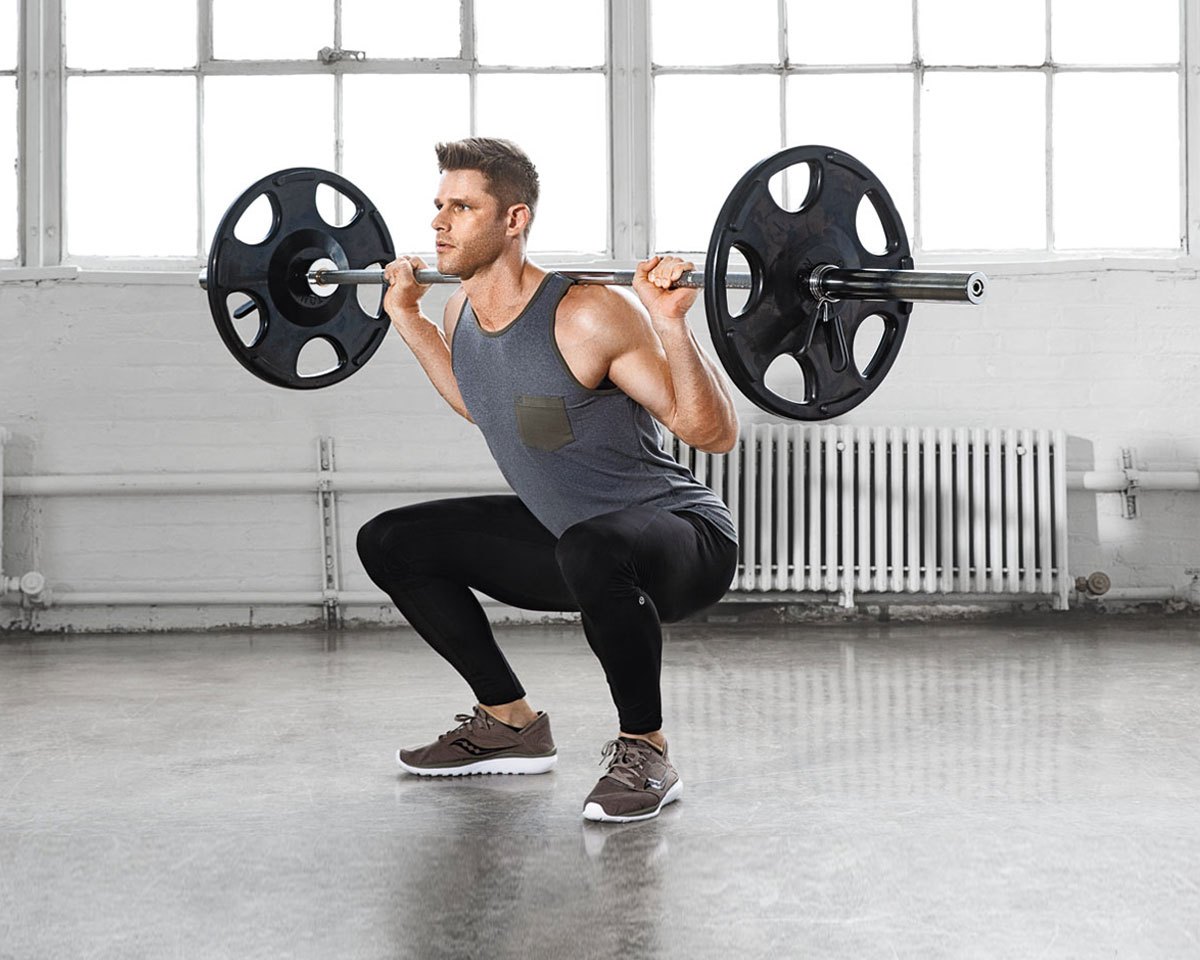
To optimize your squat journey, consider performing this exercise in a power rack or cage, equipped with adjustable pins that serve as both safety measures and visual cues for proper depth. The J hooks, which hold the bar, should align with your nipple level. Before delving into your set, ensure the bar’s positioning is comfortable and effective.
Some individuals use towels or padding under the bar to alleviate discomfort, but others argue that this might compromise stability. If the bar is causing you discomfort, you have options: build more trapezius muscle, shift the bar slightly up or down your back (it should rest just above or below the sharp ridge of your scapula), invest in a Manta Ray, or simply embrace the discomfort as an intrinsic part of the squatting experience. The Manta Ray is designed to distribute the load across your shoulders, but it may not fit everyone perfectly.
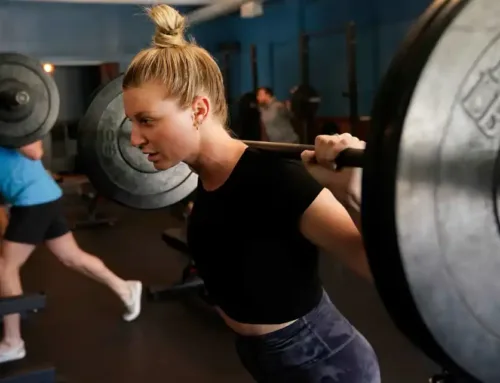
Now, step up to the bar. Place your hands about as wide as in a bench press (unless you’re opting for the wide-grip variation known for its intensity). Ensure even placement before unracking the bar. The crucial aspects to remember during unracking and the ascent are the soldier’s posture and spine-friendly stance. Maintain this form throughout the exercise. Set your feet about shoulder-width apart or slightly wider, imagining an invisible line brushing against your medial deltoid and hitting your ankle.
Use these initial sessions as your practice ground to find the stance width that suits you best. While it’s true that many powerlifters favor a wide-stance squat, acknowledging the conventional squat’s efficiency is crucial. Learn the traditional form first and explore variations later. Once you’ve settled on the perfect width, turn your feet outward at approximately a 45-degree angle. Adjust the width if needed. Now, you’re prepared to squat.
Take a deep breath, engage your core, and initiate the descent. The sensation should mimic sitting back onto an invisible chair behind you, not just going straight down. Ensure your knees remain aligned with your feet and never let them cave inward. Keeping the load manageable is key to preventing this and gradually building strength.
Some say you should aim to maintain a 90-degree angle between your shins and the ground, but this is often impossible with the regular stance squat and achievable by only a few with the wide-stance variety. Strive to keep your knees from extending beyond your toes, adjusting the width if necessary. Most individuals can safely descend until their thighs are parallel to the ground, which is deeper than it may initially seem. Only a small minority may find it more comfortable to stop just above parallel.
Don’t give up on reaching parallel too quickly. To achieve this depth, you’ll naturally need to hinge at the hips (not the spine, of course). However, remember that you should always maintain an upright posture rather than bending forward excessively. Two methods for monitoring your shin and back positions, as well as your depth, involve having a knowledgeable observer view your form from the side or using a camera strategically placed to capture all angles.
After reaching the lowest point, reverse the motion immediately without bouncing. Imagine you’re pulling your back upward with maximal hip extension. Each repetition should be treated as a distinct lift – make each one count, even during your warm-up sets. By maintaining good form in your warm-ups, you’ll be better equipped to preserve it during your working sets.
Belt or Knee Wraps
Now, the question arises: should you wear a belt or knee wraps? Belts serve to stabilize the spine by enhancing intra-abdominal pressure, while knee wraps primarily help you lift heavier weights. If you’re just starting with squats, it’s advisable to skip both. Instead, rely on your abdominal strength for stability and support. Knee wraps have limited utility unless you’re a powerlifter chasing a new personal record. Using them excessively could hinder the development of essential structures around the knee.
Why is it that the power rack often stands vacant while there’s a queue for the angled leg press? The simple answer is that squats aren’t for the faint of heart. Whether you’re a novice lifter loading the bar with “big wheels” for the first time or a seasoned 600+ squatter preparing to lift a bar that’s already bending, you’ll encounter a fair share of discomfort. Learn to embrace it because, as the saying goes, the most productive exercises often come with the most pain.
With proper technique, determination, and progressively heavier weights, you might find yourself grunting, yelling, perhaps shedding a tear or two, but most importantly, you’ll be making remarkable progress toward your fitness goals. Embrace the challenge, channel your inner warrior, and focus on your squatting journey. Good luck and happy training!
